Choosing the right Builder Remodeler

Adding ADA Features to Your Home

Adding ADA Features to Your Home

Let’s be honest, we are all aging and at some point we all have to decide on our long term care.

Will we go into a facility of some sort, will we downsize and move into a smaller/one level home or will we stay in our current home?

If you decide to move into a facility and you need to fix your house up in order to sell it, give us a call, we can help you with those repairs. J&R Construction is located in Lexington, KY and we do all kinds of remodels here in the Central KY area.

If you decide to buy something smaller / a one level home or if you plan to stay in your current home, let’s talk about a few things that you can do to age in place well and add some ADA features to your home.

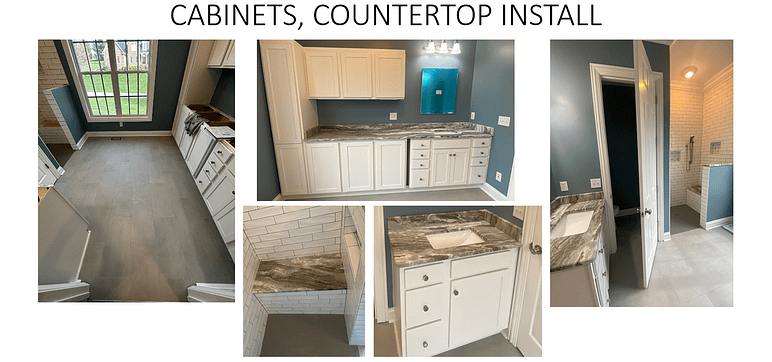
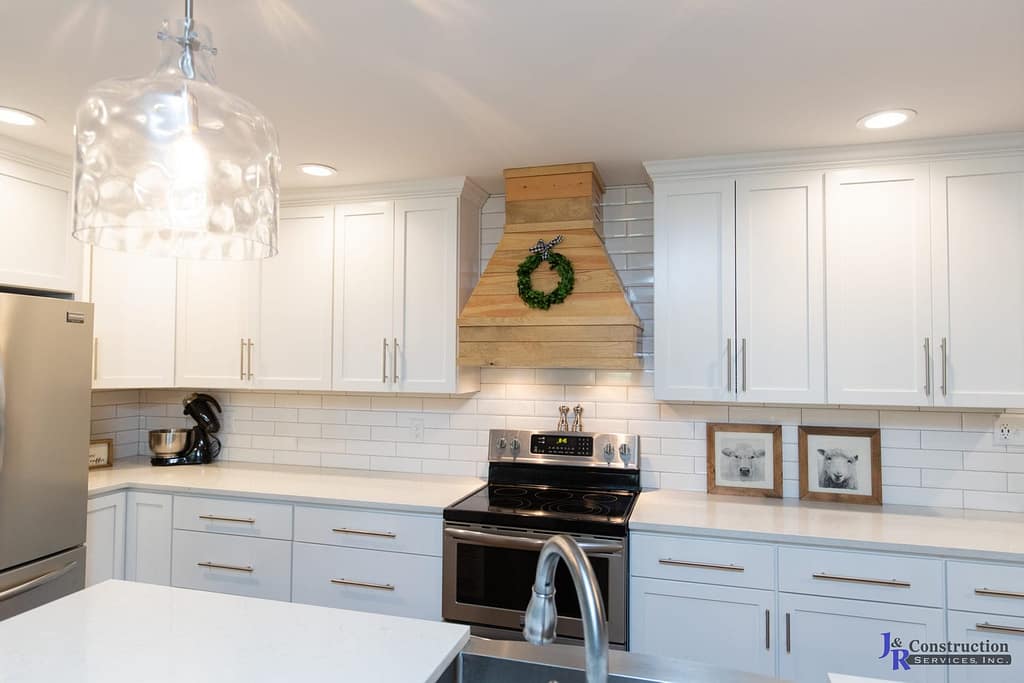
In your kitchen: add pull-out drawers instead of doors with shelves, add pull-out shelves to your pantry, opt for a shallow sink, consider doing an apron sink cabinet instead of a full cabinet, install a touch-less sink faucet or a lower built-in microwave.

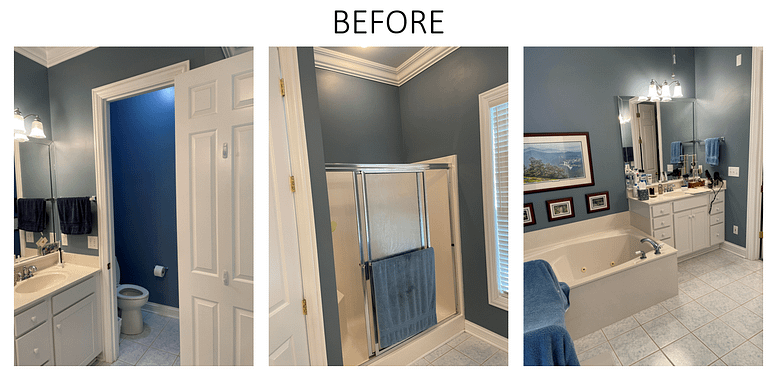
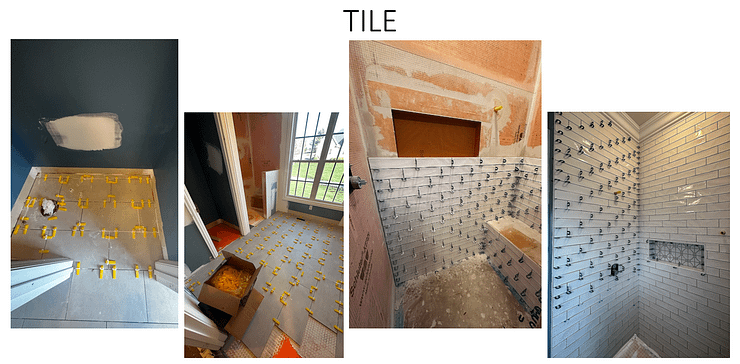
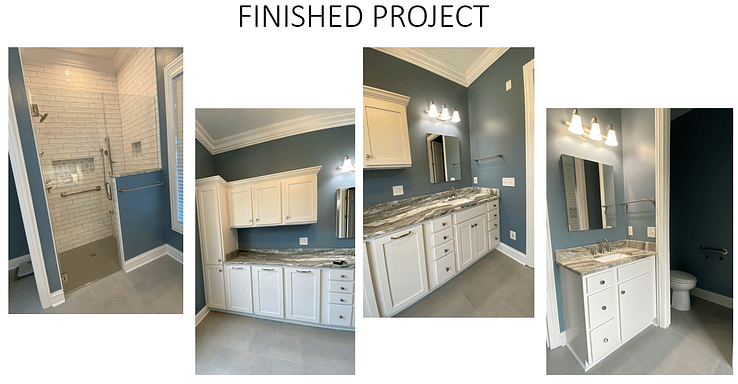
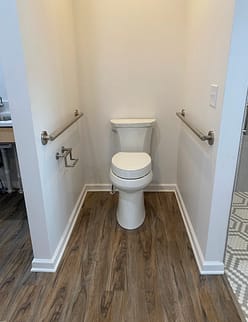
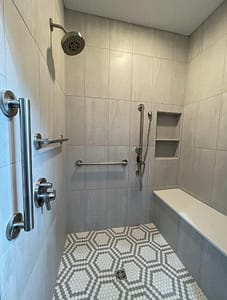
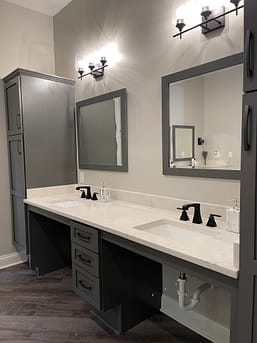
In your bathroom: enlarge the bathroom to accommodate a wheelchair (if needed), add a pocket or barn door to enlarge the area and make it easier to go in and out of, take out your acrylic shower and install a curbless tile shower (use bigger tiles to have less grout lines to clean), add a shower wand to your shower faucet with an adjustable bar, add a bench to the shower design, add grab bars and lots of them, and add an ADA high toilet.

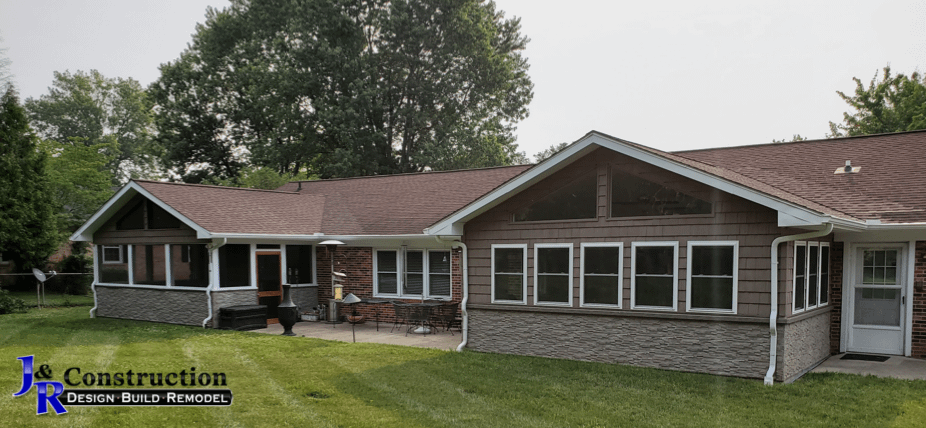
For the exterior portion: add a ramp instead of steps (choose metal for a long lasting and low maintenance option), add handlebars where the steps are or where you added a ramp. Widen door frames if needed, the ADA standard is 32”. Make the house numbers visible on the house and mailbox in case of emergency.

Some general things you could do: change the door knobs out for levers to make it easier to open, make your home a smart home with voice controlled appliances and features, remove rugs and liners as they can be a tripping hazard, and lower closet rods.

When thinking about adding some ADA features to your home – try to think outside of the box – little changes that will help make your life easier when and if the time comes. Talk to someone who has had to make these adjustments before and get their advice. As always, check your local building guidelines to ensure you’re doing everything up to code.

I know, this can be overwhelming, but I promise you: with the proper guidance by experienced professionals you can enjoy your remodel! Even the tedious parts will be easier. At J&R we put you first in all that we do, so if you are ready to make the leap, we would love to help you Enjoy the Process!

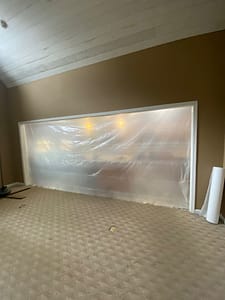
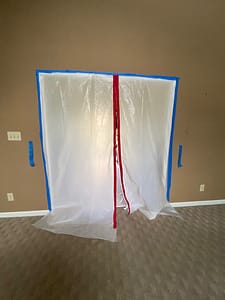
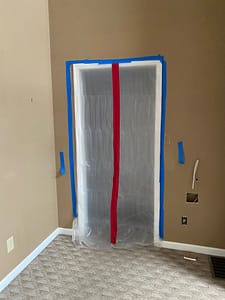
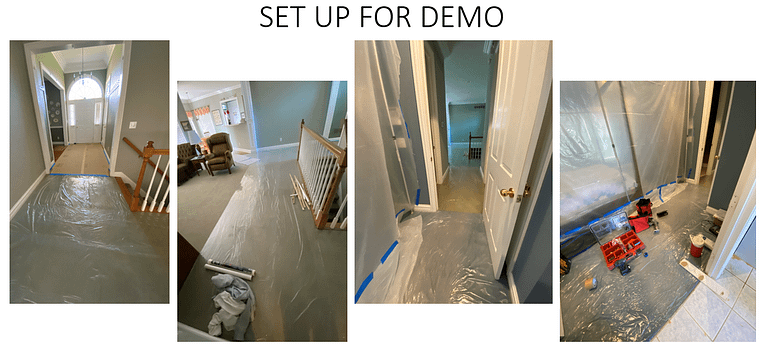
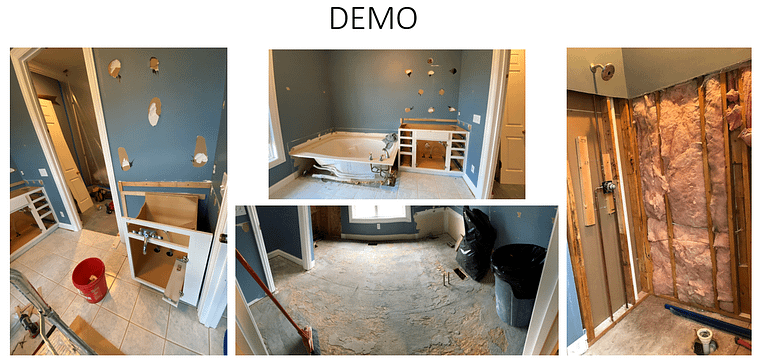
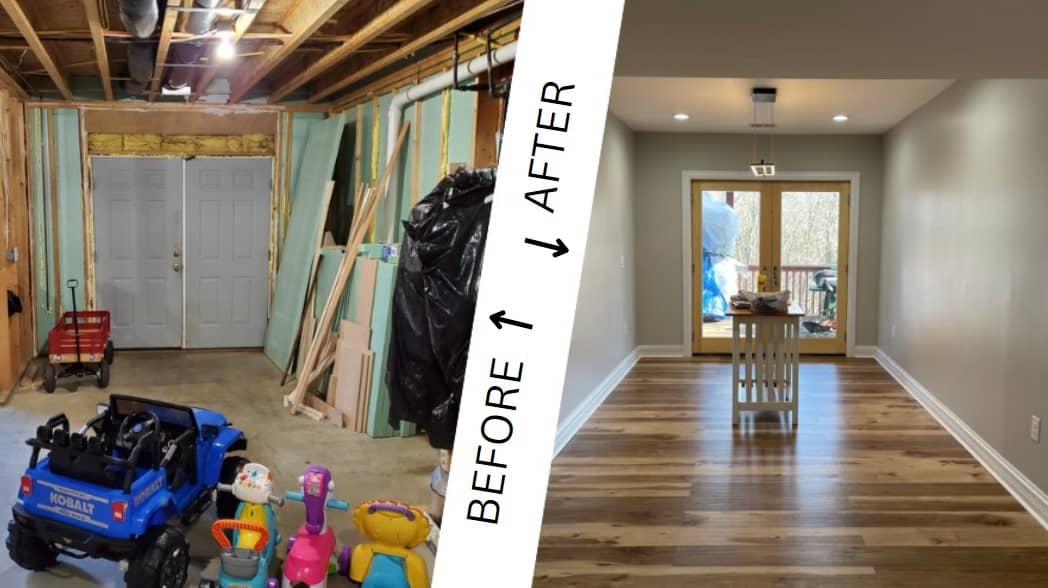
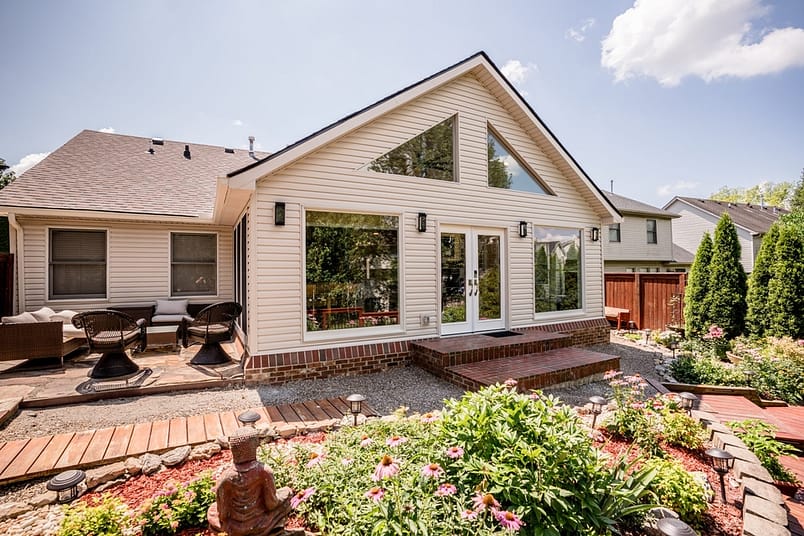
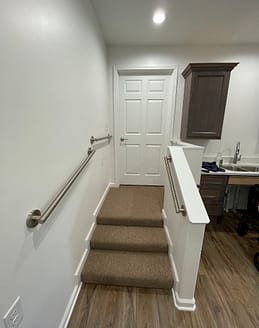
Below are some pictures of some of our recent ADA spaces that we’ve helped create.

ADA Toilet with Grab Bars
ADA Shower with Adjustable Shower Wand, Bench and Grab Bars
ADA Apron Vanity Sink
ADA Steps with Grab Bars


The Dirty Truth About Remodels

The Dirty Truth About Remodels

We’ve all seen the 30 minute TV shows that portray a quick and easy remodel process. We’ve all seen the before and after pictures of beautiful remodels but rarely do we hear the true stories of remodels. Because while the before and after pictures are gorgeous there is a journey that has happened to get there.

You meet with a contractor and their design team, you go shopping for your dream products for your renovation, you have a proposal meeting and go over your new design, you agree on a price and sign a contract. After waiting a couple of months for product to come in, you are ready for the production process!

Be flexible with your contractor. You may have to wash your dishes in the bathroom sink or tub during your remodel. We may open up a wall and find a plumbing pipe that we couldn’t see before. We may demo your flooring to replace it and find rotten subfloor that needs to be replaced. Expecting perfection and no issues is a huge mistake. If necessary, add extra time to your timeline or save back some extra money in case anything extra is found.

Be ready to compromise. Sometimes ideas just don’t work out. We’re limited on space, the walls are old, the measurements are weird… all things that can take an idea and kill it pretty quickly. Be open to changes and willing to compromise. If you have non-negotiables make those known up front so your contractor and designer know.

Forget about a clean house. When it comes down to it, no matter what project that you’re working on there will always be dust. Your contractor should make sure that there is plenty of plastic walls in place and floor protection but dust will always get through and your house will not be completely clean until the project is completed.

Are you ready to start your home remodel? Here at J&R, we can provide a free consultation to help you discuss and set a budget for the project! Feel free to set up an appointment with us by calling 859-225-0162 today!

Dust Protection - Home Remodel

Zipper Wall - Dust Protection

Zipper Wall - Dust Protection

What To Expect In A Master Bath Remodel

What to Expect in a Master Bath Remodel

Are you thinking about remodeling your Master Bath? If so, there are many decisions and preparations that need to be made before the construction begins. Remodeling your bathroom also brings on stress because you have people working in your home, and the construction can mess up your daily routines. To minimize stress and help prepare you for the remodel, below are 7 things you should expect when remodeling your master bath.

Expect to move out of your Master Bedroom

Most people don’t think about how much dust can accumulate during a Master Bath project. During the Demolition process, dust is accumulated from drywall and/or tile removal.  When installing new drywall and sanding it down, it creates even more dust throughout the area. Even though the work is not being done in the Master Bedroom, some of the dust still finds it’s way into the space. This can be distressing for homeowners during the project because nothing ever feels clean in the room. To minimize the amount of dust, we use a HIPPA filter that runs during demo and drywall to help eliminate any dust in the air. We use plastic zip walls to block off any area that is not being worked in. We also put plastic over the bed and any furniture in the room as well. The plastic won’t be removed until after the drywall and painting is completed and a cleaning has taken place.

Expect to box up some of your belongings in your master bath/bedroom

Because you are “moving out” of your bedroom, you should also take the necessity items with you. This would include clothes that you need daily access to and anything stored in your bathroom you might need. Some people keep first aid, linens/sheets, extra towels, etc. in their master or bathroom closet. Even if that closet is not being worked in, those items should be boxed up or moved to a different location of the home for easy access when you need them. Otherwise, going in and out of a work zone will maximize the tracking of dust, drywall, paint, etc. throughout your home and risk getting it onto those items.

Expect a covered pathway from your house entry to the master bath

When you have multiple trades coming in and out of your home daily, lots of dirt/dust can be tracked in. To minimize this, we use RAM Board and Carpet Protection to create a path from the entry point to the area under construction. This helps to keep any dirt from getting on your floors.

Expect your utilities to be turned off during demolition

To minimize the risk of leaks and hot electrical wires being out in the open, the demo crew will turn off your main water access, and turn off your electric to your home while they are demo-ing your master bath.

Expect loud noises throughout the construction process

At times throughout the remodel, there will be loud hammering noises, tile saws, sanding, and drilling. If you work from home, this can be a disturbance to your work or colleagues. Make plans to find a room that’s not close to the construction, have headphones, or possibly find an area to work at outside of your home for the day. Also, because of the hammering and drilling, plan to remove any pictures, shelves, or keepsakes from shared walls so it takes away the risk of them falling off. An example would be if your master bath shares a wall with your living room – if you have anything hanging on that wall in your living room, you should remove it so it does not fall off while someone is hammering on the other side of the wall.

Locate an area inside or outside of your home for materials

Throughout the remodel, there needs to be a designated space for materials to be stored at. This area is referred to as a Staging area. Typical materials that are kept at job sites are extra RAM board/floor protection, and materials being reused (ex. Trim/Casing, Door, Toilet, etc.), and new materials (flooring/tile, sink, vanity, tub, shower fixtures, etc.) When the trades are working at your site, the process goes quicker and smoother when the materials they need are already on site. This also helps your project manager keep track of all the materials and confirm every item is there. The ideal place for the materials is in a garage or a room close to the master bath.

Expect to have a dumpster and porta-potty outside of your home

Depending on how much of your master bath is being demoed, a dumpster may be needed on site for the old materials to be put in. Also expect a dumpster to stay on site until drywall and tile is done so any cut or unsavable pieces can be thrown away. Other items that contribute to trash include the plastic removal, floor protection, and boxes the new fixtures come in. Porta-Potty’s are also a necessity to have on job sites for our workers. We don’t want to disrupt your home life anymore than necessary, so we have porta-potties outside. This way you are able to use your other bathroom(s) in peace and not worry about it getting dirty from the construction process.


Below is an example of a recent Master Bathroom Remodel Process. The construction process took about 10 weeks, and the final check through and shower glass install took about 2 weeks.

What is a Red Flag Warning?

This post is an adaptation from https://www.weather.gov/mqt/redflagtips. Not an original blog.

Have you noticed an increase of fire breakouts in your area? Or gotten alerts for Red Flag Watches/Warnings? As the year is approaching summer, the days are getting hotter, strong winds are coming through, and the humidity has been very low. These are all conditions of an environment that could produce dangerous fires. 

If you are outside during a Red Flag Watch/Warning, her are some tips to remember: 

– If you are allowed to burn in your area, all burn barrels must be covered with a weighted metal cover, with holes no larger than 3/4 of an inch.

– Do not throw cigarettes or matches out of a moving vehicle. They may ignite dry grass on the side of the road and become a wildfire.

– Extinguish all outdoor fires properly. Drown fires with plenty of water and stir to make sure everything is cold to the touch. Dunk charcoal in water until cold. Do not throw live charcoal on the ground and leave it.

– Never leave a fire unattended. Sparks or embers can blow into leaves or grass, ignite a fire, and quickly spread.

– If you have recently laid down mulch, be sure to water it right after putting it down and keep it damp as if it dries out too much, it can combust and create a fire. 

– Make sure your fire/smoke detectors are up to date

– Set a fire emergency plan/route and a meet up location with your family in case of a house fire. 


For more information, check out this other blog on Red Flag Warnings at https://www.npr.org/2023/04/14/1169979511/red-flag-warning-fire-prevention-tips#:~:text=What%20should%20you%20do%20if,issues%20%E2%80%94%20are%20during%20the%20day.


Weather Damage to Your Home? What Should You Do?

Photo By: LEX 18

This post is an adaptation from https://www.bereadylexington.com/ and https://insurance.ky.gov/ppc/Documents/beforeafterstorm071817.pdf . Not an original blog.

Weather Damage to Your Home? What Should You Do?

After recent weather events, many people in Kentucky have experienced Weather Damages to their homes. If you have never experienced weather damage to your home, here are some tips to keep in mind when assessing the damage.

  1. Do not repair or clean up anything until you file an insurance claim and have an adjuster come look at your home to assess the damage. If it is necessary to clean up, then take many pictures, videos, and notes of what was damaged.
  2. Meet with your insurance company adjuster first before signing anything with contractors, lawyers or public adjusters.
  3. Make sure your address is visible from the street.
  4. Create a detailed list of what is damaged and what you would like to show to your adjuster. When the adjuster arrives, make sure to ask for identification, their business card and information to reach them at. Ask any questions if you don’t understand while talking about the damage and next steps.
  5. Keep all receipts of items purchased to secure your property after cleaning the damage. This can include items like tarps, shop/wet-vacs, etc. Also record the time you spent on securing your property.
  6. Keep a record of conversations with insurance personnel and other officials – including the person’s name, the time, date, and a summary of what you talked about.
  7. Once you are ready for repairs to begin, be sure to find reputable licensed, and insured contractors. Ask people you trust for recommendations.
  8. Do not deal with “fly-by-night” roofers or remodelers who go door-to-door, especially those not known in your community or those who offer greatly reduced prices because they say they just completed work nearby and claim to have materials left over.
  9. Don’t be afraid to ask for identification, especially if money is changing hands, and proof of general liability and workers’ compensation insurance.
  10. Don’t spend a lot of money on temporary repairs. Remember that payments for temporary repairs are part of the total settlement. If you pay a contractor a large sum for a temporary repair job, you may not have enough money for permanent repairs.
  11. Insist on a written contract that includes a description of the work, total cost and completion date.

For more information and a checklist of what you should do when reporting and repairing weather damages, go to https://insurance.ky.gov/ppc/Documents/beforeafterstorm071817.pdf

 Are You Thinking About Finishing Your Basement?

This post is an adaptation from https://www.mrcooper.com/blog/9-tips-for-finishing-a-basement/, not an entirely original blog.

 Are You Thinking About Finishing Your Basement?

Finishing out a basement can be a daunting task, but with the right guidance, you can have a cozy, functional room to host family, watch tv, or have a game night! There are also plenty of other reasons to finish your basement, some include changing the value of your home, better insulation, and creating organized storage spaces.

1. Finishing out your basement can increase the value and square footage of your home

The first thing people look at when searching for a home is how much square footage and how many bedrooms are in the home. An unfinished basement is not considered living square-footage, but when you condition and finish it out, that square footage is added on, thus making the value of your home go up. If your basement allows for it and it meets code, you could even add an additional bedroom and bath, which would also increase the sell value of your home.

2. Finished Basements provide better insulation to pipes

In the winter months, freezing pipes can become a big issue. Unfinished basements tend to be on the colder side, and that can be a risk for any plumbing you might have down there. When finishing your basement, you can insulate the pipes to keep them from losing heat, and also to prevent condensation. Finishing your basement also helps insulate your flooring that is above.

3. Finished basements provide storage space for many different items

While an unfinished basement provides storage space, many people use it for totes or boxes. With a finished basement, you can include cabinets, shelves, or even closets to organize all of your items, and have easy, available access to said items when needed. This way when you are looking for something, you don’t have to dig through five totes before finding it!

4. Hosting area for your family and friends

Having a finished basement downstairs can become an easy hang out spot for all family and friends. Instead of moving back and forth from the living room, kitchen, and dining room, you can have all your guests in one room, and all the necessities in one area. With a finished basement, you can put in a mini fridge and/or some cabinets so you can have a dedicated space for snacks and drinks while you host.


Are you ready to look at finishing your basement? Here at J&R, we can provide a free consultation to help you discuss and set a budget for the project! Feel free to set up an appointment with us by calling 859-225-0162 today!

4 Tips on Putting Together Your Outdoor Living Space

4 Tips for Setting Up Your Outdoor Living Space

  1. Use pieces that highlight your space, not take from it.

Maximizing space is key, you don’t want to feel like you are cooped up indoors when you’re enjoying the weather outdoors. So analyze your space and decide exactly what furniture you want and how much your space will fit.

  1. Continue your style outdoors as well.

It’s easy to consider your outdoor space as separate from the rest of your home, but tying the aesthetic of your outdoor space to your indoor space emphasizes your existing design and maximizes your square footage.

  1. Function is just as important as style.

Don’t waste space with pieces that won’t get used. Think about what you intend to do with your outdoor space and how you like to entertain. That should be the driving force behind your furniture selections.

  1. Durability is a must.

This one is simple, but often overlooked. When selecting your outdoor furniture, pick pieces that are weatherproof. That way, they can either be used or left in the winter, rather than stored.

Budgeting for a Porch Project

This post is an adaptation from https://www.hgtv.com/outdoors/outdoor-remodel/budgeting-for-a-porch-project, not an entirely original blog.

No two porches are exactly the same, especially when you are working with a design-build remodeler like J&R Construction. For this reason and more, the cost to upgrade an existing porch or add a new one varies widely.

Costs depend on what you prefer.  Factors like size and complexity play a large role and costs also vary region to region. A small and basic do-it-yourself porch project can cost about $5,000 to $10,000, but the budget for even a small porch project can go up quickly when lots of extras are included.

Things like lighting, hardware, architectural details and furniture add to the basic cost of the project. A major extra, like a large fireplace, can really drive up the cost of a porch, since it involves more materials and labor — and may require an upgraded foundation. When you work with a remodeler, labor costs also weigh into the cost of a porch, but likely mean less in maintenance costs.

A basic concrete-slab porch will be easier on the wallet than a larger screened-in porch or sunroom.

Prefabricated porches can be found for approximately $10,000 to $20,000, and expect to pay anywhere from $15,000 to $30,000 for a good-quality, medium-sized (about 16′ x 20′) porch with a floor and roof built by a contractor.

Large custom porches with lots of extras can easily top $50,000, so it pays to do your homework and planning. However, a custom porch is built to your specifications and requires less work in the long run. Companies like J&R offer warranties on their work, so you don’t have to worry about issues lingering. This ultimately is money back in your pocket.

Press Release: J&R Construction Ranked #371 Remodeler in Nation

CONTACT

Ben Taylor, Marketing &

Communications Coordinator

J&R Construction

(859) 225-0162 – [email protected]


FOR IMMEDIATE RELEASE


J&R Construction named to

Qualified Remodeler

 TOP 500 for 2021


LEXINGTON, KY (August 10, 2021) – Qualified Remodeler, a leading publication serving remodelers and home improvement companies in the U.S., has ranked J&R Construction as the No. 371 on its 43rd annual TOP 500 remodelers of 2021. Since 1978, the QR TOP 500 has tracked the industry’s largest and fastest growing companies. In 2021, the TOP 500 represented $13 billion in remodeling sales volume on 1.1 million jobs.

J&R Construction was chosen as a 2021 TOP 500 remodeler by the Qualified Remodeler editorial staff for meeting a set of criteria including installed remodeling dollar volume, total years in business, industry association membership, industry certification, industry awards and community service.

J&R Construction is Lexington and Central Kentucky’s leading Design-Build & Home Remodeling company. Design-Build is when a company has professional interior designers on staff to show you what your home remodeling project will look like, guide you in selections, and hand hold you throughout the project. Then having project managers, carpenters, quality craftsman, and trade partners build and remodel your dream.

“Based on Qualified Remodeler’s analysis, firms that are ranked on the 2021 TOP 500 are experiencing a boom in business. Firms that have made the list multiple years tend to share common attributes — strong revenues, a commitment to customer service, as well as leading sales and marketing programs,” said, Patrick O’Toole, co-owner and publisher of Qualified Remodeler. “These attributes helped put the firms on this list and contribute to their ongoing success in remodeling and home improvement.”

Additional information on the TOP 500 can be found on www.qualifiedremodeler.com.


9 Ways to Prepare Your Home for Fall

This post is an adaptation from https://www.housebeautiful.com/lifestyle/cleaning-tips/a22652916/fall-home-maintenance-checklist/, not an entirely original blog.

Fall brings a lot of changes with it. It magically gets colder, leaves begin to fall, the holidays are suddenly right around the corner, and the air just feels fresher. These changes present several challenges to homeowners who may have spent more time at the pool than thinking about how to prepare for Fall (rightfully so)! Here are some simple ways to make sure your home is just as ready for a challenging as your stretchy pants are, come Thanksgiving time.

Clean, or possibly replace, your gutters.

Your gutters take a beating and if they’re clogged, you’re in for a world of hurt and dirty water in your home. So, clean them, and if necessary, replace them.

Check for leaky windows.

Heat loss through windows is responsible for 25-30 percent of heating energy use, according to the U.S. Department of Energy. But it can be easily fixed with some weatherstripping.

Pro tip: To check if you have a draft issue, close a door or window on a strip of paper. If the paper slides easily, you need to update your weatherstripping.

Drain your outdoor faucets.

Drain and disconnect all garden hoses from outside spigots to prevent any water freezing. Not doing this can result to pipes bursting. No bueno.

Bring your outdoor furniture in.

It costs you money and time to set that outdoor space up, so if you want to get another summer season out of it you should store it in a garage or shed. If you don’t have anywhere to store the items, you should cover it in a waterproof furniture cover.

Fix any cracks in your driveway.

When water gets into cracks it freezes, expands, and can make the crack even bigger. Enough small cracks can turn into big cracks, and eventually the concrete can crumble. So, using concrete crack sealer, fill it up and be done with it.

Change your filters.

If your filters are clogged, it’s harder to keep your home at the temperature you want it to be which will increase your heating bills. Clean these filters monthly, not just before the fall, and thank me later. FYI: Disposable filters can be vacuumed one time before you replace it, and foam filters can just be vacuumed and not replaced.

Fertilize your lawn.

If you want to keep your lawn looking great in the spring and summer, you need to prep it for the fall and winter. Roots are still active when the grass isn’t growing, so applying fertilizer will prevent winter damage. Doing this will also help your lawn turn green faster in the spring.

Test winter equipment.

Seriously, just check it all now and make your life easier later. You’ll be really happy when you discover you need a new snow blower in the summer, rather than when you’re standing in the snow, and they’re sold out.

Change your batteries.

Once a year you should be checking to make sure all smoke detectors and carbon monoxide devices are working. Fall and Winter mean it’s time to “roast those chestnuts on an open fire,” lets not roast your blinds and couch because you didn’t catch a stray log!